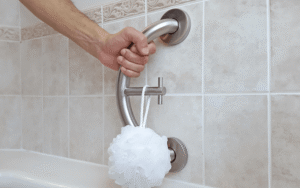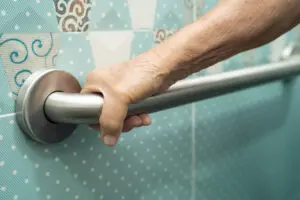




Installing a grab bar might look simple. Choose a spot, drill a few holes, tighten the screws, and you’re done. But learning how to install grab bars correctly involves more than attaching bathroom hardware to a wall.
Unlike a towel bar, a grab bar may need to support someone during a slip, while stepping into a shower, or when lowering themselves onto a seat. That means the location, wall structure, mounting hardware, and installation method all matter.
At Atlas Home Safety, we’ve helped Michigan homeowners make their homes safer and more comfortable for more than 35 years. As a division of Atlas Home Improvement, we specialize in personalized solutions for seniors, homeowners planning to age in place, and people experiencing mobility challenges.
Below, we’ll explain the basic grab bar installation process, what changes when you’re working with tile, when studs or structural support matter, and why some installations are better left to a professional.
Want to know you can depend on your grab bars when you need them? Call Atlas Home Safety at 800-768-4498 or contact us online to learn more about professional grab bar installation in Michigan.
Before You Drill, Understand What a Grab Bar Has to Do
A grab bar isn’t simply another bathroom accessory. It’s a safety feature someone may instinctively reach for when they lose their balance.
That distinction becomes clear when you look at the 2010 ADA Standards for Accessible Design. For facilities covered by these standards, the grab bar, fasteners, mounting devices, and supporting structure must accommodate a 250-pound vertical or horizontal force. The standards also require grab bars to remain secure rather than rotate within their fittings.
These ADA requirements don’t automatically apply to every private residential bathroom. However, they illustrate an important point: a grab bar needs a secure mounting system, not just a few screws in the wall.
Before installation begins, consider:
- The type of wall and finished surface
- Where studs or structural blocking are located
- The mounting system approved for the grab bar
- The manufacturer’s installation instructions
- Where the user naturally needs support
- The user’s height, reach, balance, and mobility
Getting these details right before drilling can prevent installation mistakes and create a bathroom that’s safer to use.
How to Install Grab Bars: 7 Basic Steps
The exact installation process depends on the grab bar, wall construction, and mounting system. Always follow the manufacturer’s instructions for the specific product you’re installing.
However, most projects involve the following basic steps.
1. Decide Where You Need Support
Before worrying about drills or screws, determine where the grab bar will actually help.
Common locations include:
- At the entrance to a shower or tub
- Along the side wall of a shower
- Near a shower seat
- Beside a bathtub
- Next to the toilet
- Near transitions where balance may be more difficult
For residential bathrooms, the best placement isn’t necessarily a universal measurement. It should account for how the person using the bathroom naturally enters, exits, stands, turns, sits, and reaches for support.
We recommend considering where users naturally reach for assistance when entering and exiting a dry shower or tub before finalizing placement.
Already know you need grab bars but aren’t sure where they should go? Read our guide to where to put grab bars in the shower for a closer look at placement.
2. Determine What’s Behind the Wall
Once you’ve selected a general location, find out what you’re mounting the grab bar to.
Bathroom walls may include:
- Drywall
- Ceramic or porcelain tile
- Fiberglass or acrylic surrounds
- Wood
- Stone
- Concrete
- Other wall systems
More importantly, you need to know what’s behind that finished surface.
A beautiful tiled wall may conceal wood studs, blocking, plumbing lines, electrical wiring, or hollow wall cavities. The construction behind the wall helps determine which installation method and fasteners are appropriate.
Don’t start drilling until you have a clear understanding of your wall assembly.
3. Locate Studs or Structural Blocking
When the grab bar and wall construction allow it, attaching the mounting hardware to wood studs or structural blocking provides a strong connection.
Use an appropriate stud finder or another reliable method to identify the framing behind the wall. It’s best to mount into studs where possible and use manufacturer-recommended anchoring systems when suitable studs aren’t available.
Remodeling Your Bathroom? Plan Ahead for Grab Bars
If you’re already opening the walls during a bathroom remodel, you have an opportunity to prepare for grab bars before they’re installed.
Structural blocking can be added between wall studs to create solid mounting locations. Even if you don’t need grab bars immediately, preparing the walls now can make adding them later easier. Consider this type of blocking while bathroom walls are open.
It’s a small example of why planning for aging in place before accessibility features become necessary can pay off later.
4. Measure, Level, and Mark the Grab Bar
Once you’ve identified an appropriate mounting location, position the grab bar against the wall.
Before drilling:
- Confirm the bar is comfortable for the intended user to reach
- Check its orientation
- Use a level when appropriate
- Mark the mounting holes accurately
- Reconfirm the location of framing or blocking
- Consider what plumbing or electrical components could be behind the wall
Taking a few extra minutes here can prevent a misplaced hole, damaged tile, or poorly positioned grab bar.
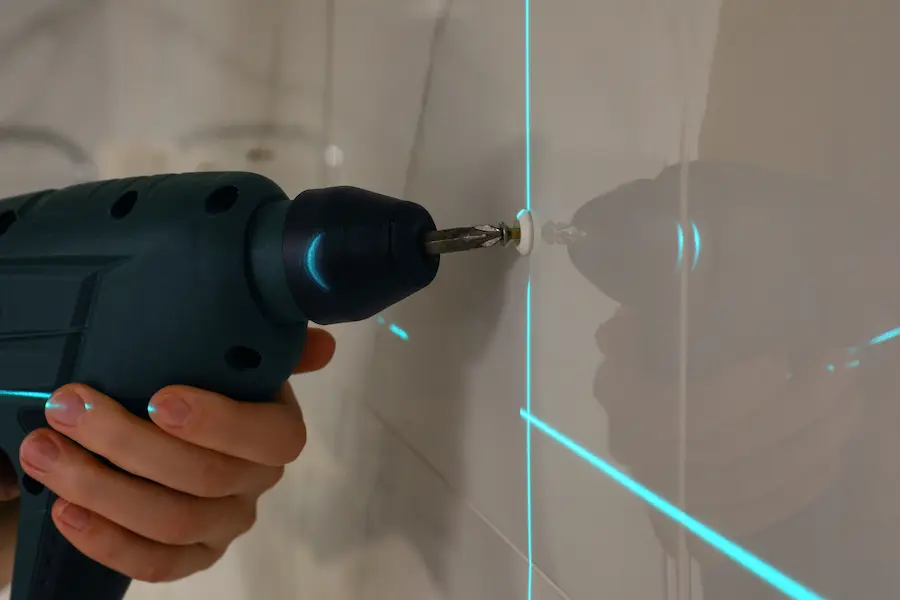
5. Drill for the Specific Wall Surface
Your drilling method should match the material you’re working with.
Drywall, tile, fiberglass, stone, and other materials don’t all respond to the same drill bits or techniques. Follow the grab bar and fastener manufacturer’s directions for your specific wall assembly.
This becomes especially important in tiled bathrooms.
6. Secure the Grab Bar with the Correct Hardware
With the mounting points prepared, secure the grab bar using the hardware and installation method specified for the product and wall assembly.
Avoid substituting whatever screws or anchors happen to be available in your toolbox.
The appropriate hardware can vary depending on:
- Whether you’re mounting into wood framing
- Whether blocking is present
- The finished wall material
- Whether an approved anchoring system is required
- The grab bar manufacturer’s specifications
If you’re working with tile, don’t assume tighter is always better. Overtightening screws can crack tile.
7. Seal and Check the Finished Installation
In wet areas, wall penetrations may need to be properly sealed to help prevent moisture from getting behind the finished surface. For example, using silicone caulk behind the escutcheons can help protect against water damage.
Once installation is complete, carefully check the bar for:
- Movement
- Loose mounting plates
- Rotation
- Rocking
- Visible gaps or installation problems
Don’t wait until someone loses their balance to discover that a grab bar isn’t secure.
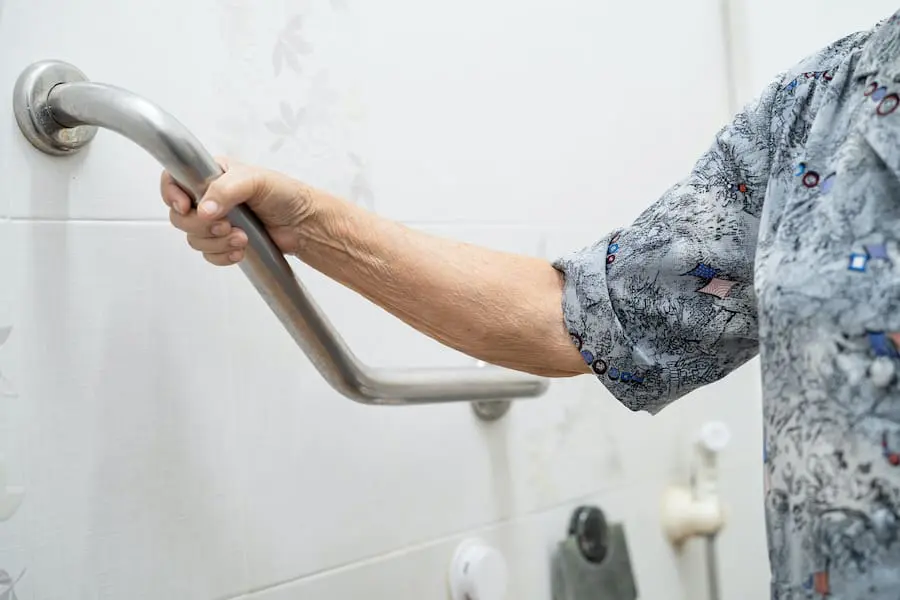
How to Install Grab Bars on Tile
Yes, grab bars can be installed on tiled shower walls. However, tile introduces additional challenges.
Drilling incorrectly can:
- Crack or chip the tile
- Damage the wall behind it
- Create unnecessary openings in the waterproofing system
- Miss the intended structural support
- Damage concealed plumbing or wiring
It’s recommended to use a glass/tile drill bit when drilling through ceramic tile rather than treating the tile like ordinary drywall.
Once you’ve penetrated the finished surface, the grab bar still needs an appropriate mounting method. Tile itself shouldn’t be treated as the structural support for the bar.
The specific bit size, fastener, hole size, and drilling method will depend on the grab bar, tile, wall construction, and mounting system. This is one reason it’s important to follow the product manufacturer’s instructions instead of relying on a universal installation formula.
Can You Install Grab Bars Without Studs?
This is one of the most common questions homeowners have about grab bar installation.
In some wall assemblies, yes. But that doesn’t mean you can use any ordinary wall anchor.
If a stud isn’t available in the location where support is needed, certain grab bars and wall assemblies may allow the use of manufacturer-approved heavy-duty anchoring systems. Consider heavy-duty anchors as an option when studs aren’t available and the grab bar’s instructions permit their use.
The key is using an anchoring system specifically appropriate for the grab bar and wall assembly.
Ask yourself:
Is the entire mounting system designed to safely support a grab bar in this particular wall?
That’s a very different question from whether an anchor can simply be inserted into drywall.
If you’re uncertain about the framing, wall construction, or mounting system, professional installation is the safer choice.
Don’t Make These Grab Bar Installation Mistakes
A grab bar can create a false sense of security when it looks sturdy but isn’t installed correctly.
Watch out for these common mistakes:
- Treating a grab bar like a towel bar: A towel bar isn’t designed to provide the same type of structural support.
- Using inappropriate anchors: Standard lightweight drywall anchors shouldn’t automatically be assumed suitable for grab bars.
- Missing the stud: A screw that appears secure isn’t necessarily anchored into structural framing.
- Ignoring manufacturer instructions: Hardware and installation requirements can vary by product.
- Assuming every bathroom wall is the same: Tile, drywall, fiberglass, and other surfaces can require different installation methods.
- Cracking tile: Incorrect drilling or overtightening can damage the finished surface.
- Ignoring moisture protection: Penetrations in wet areas need appropriate attention to waterproofing and sealing.
- Choosing placement based only on appearance: A perfectly installed bar isn’t particularly helpful if the user can’t comfortably reach it.
- Relying on suction handles as though they’re permanently mounted grab bars: Don’t assume removable bathroom accessories provide the same structural support.
- Only thinking about today’s needs: If you’re remodeling, planning for future mobility changes can make your bathroom more adaptable.
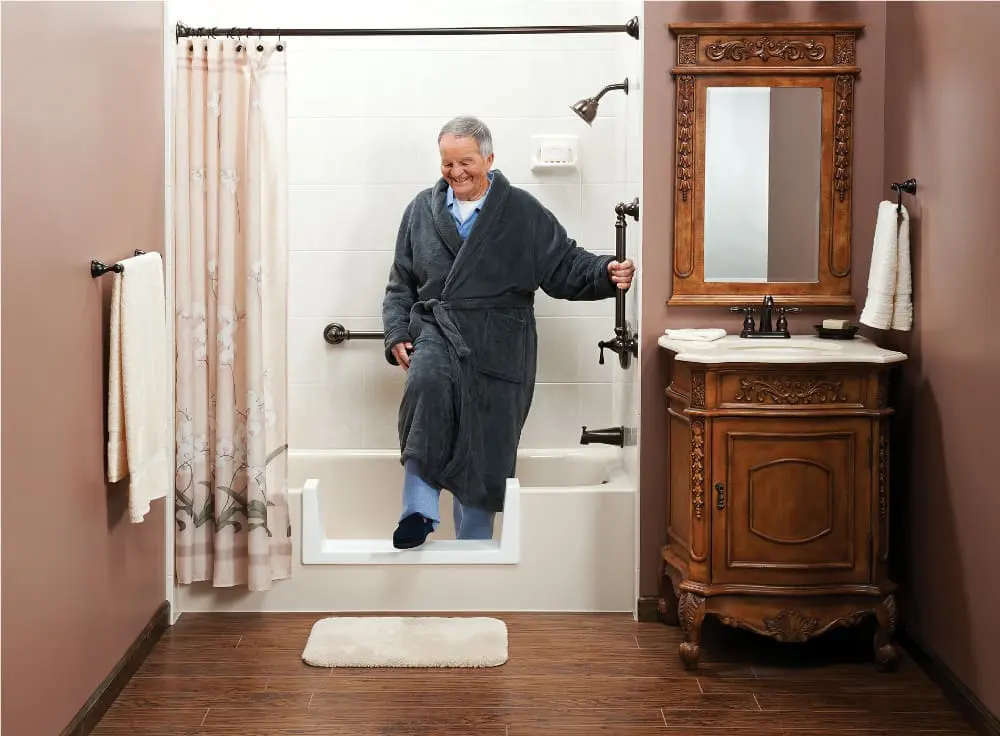
DIY vs. Professional Grab Bar Installation
Does every grab bar need professional installation? Not necessarily.
An experienced DIYer may be comfortable completing a straightforward installation when the wall construction is known, appropriate structural mounting points are available, and the manufacturer’s instructions can be followed precisely.
Professional grab bar installation becomes especially valuable when:
- You’re drilling through finished tile
- You can’t confidently locate the studs
- Structural blocking isn’t available
- A specialized anchoring system is required
- You’re dealing with fiberglass or acrylic surrounds
- You’re unsure what’s behind the wall
- Multiple grab bars need to work together
- The user has significant balance or mobility concerns
- You’re incorporating grab bars into a larger accessibility remodel
The consequences of an installation mistake are also different from those of hanging a picture or towel rack. A loose picture frame is inconvenient. A loose grab bar can fail at the exact moment someone needs it.
Build a Safer Bathroom Around the Way You Live
Grab bars are an important part of bathroom safety, but they don’t have to work alone.
The CDC recommends grab bars as one component of making a home safer for older adults, along with addressing trip hazards, improving lighting, and installing stair handrails.
Inside the bathroom, you can take the same whole-room approach.
Depending on your mobility needs and long-term goals, bath safety solutions may include:
- Professionally installed grab bars and accessories
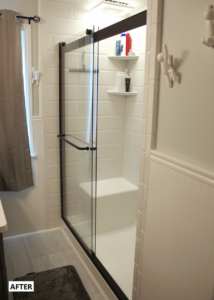
- A walk-in shower that makes entering and exiting easier
- A barrier-free shower that reduces the need to step over a raised threshold
- A shower seat for additional stability and comfort
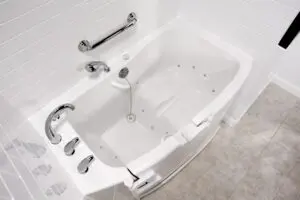
- A walk-in tub designed to make bathing more accessible
- A step-through tub that improves access to an existing bathtub
- A complete accessible bathroom remodel designed around your needs
Looking at the bathroom as a whole can help you identify obstacles that a grab bar alone won’t solve.
Why Michigan Homeowners Trust Atlas Home Safety
Making your bathroom safer is about more than installing products. It’s about creating a space that helps you or someone you love live with greater comfort, confidence, and independence.
Atlas Home Safety is a division of Atlas Home Improvement, a family-owned Michigan company serving homeowners since 1989.
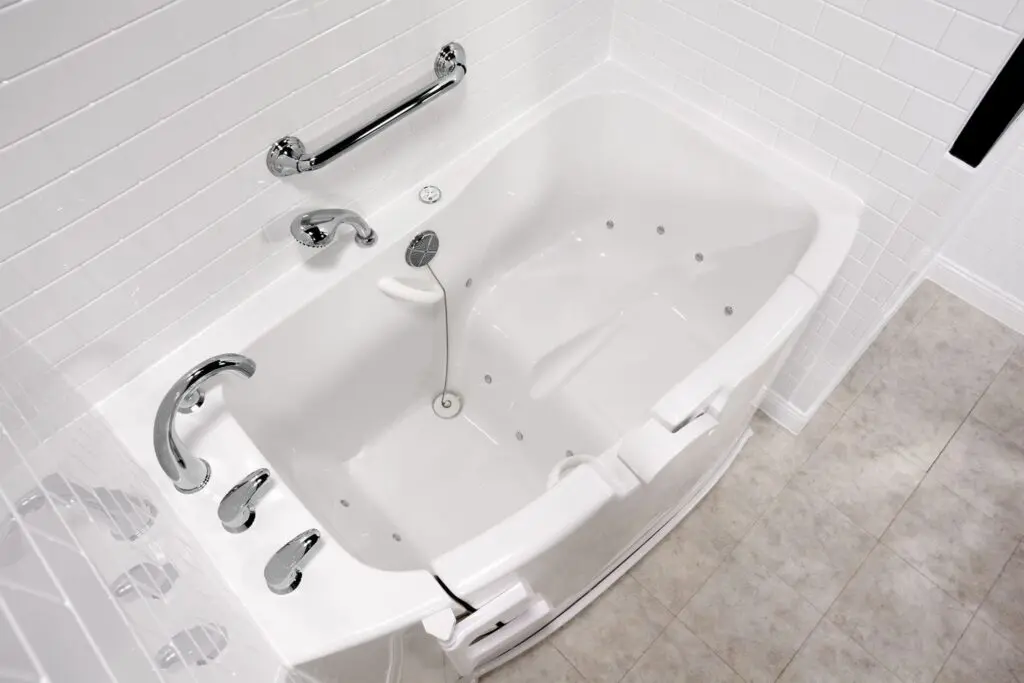
We’ve built our reputation on:
- More than 35 years of home improvement experience
- Compassionate, personalized guidance
- Professional grab bar installation
- High-quality bathroom safety products
- Accessible solutions tailored to individual mobility needs
- Dependable craftsmanship
- A stress-free remodeling experience
We understand that changing mobility needs can be difficult for homeowners and their families. That’s why we take the time to understand how you use your bathroom and recommend solutions based on your home, lifestyle, and long-term goals.
Take the Guesswork Out of Grab Bar Installation
Knowing how to install grab bars means understanding that every part of the installation matters. Placement, wall construction, structural support, mounting hardware, drilling, sealing, and final testing all contribute to whether the finished bar provides dependable support.
If there’s any uncertainty about what’s behind your bathroom walls or how a grab bar should be mounted, you don’t have to guess.
Atlas Home Safety can help you create a bathroom that’s safer, easier to navigate, and better suited to your needs today and in the future.
Ready to get started? Contact us online or call 800-768-4498 to schedule your consultation. We proudly help homeowners throughout Michigan create safer homes with personalized accessibility solutions and professional installation.
FAQ: How to Install Grab Bars
Do grab bars have to be installed into studs?
Installing a grab bar into structural framing or blocking provides a strong mounting point and is often preferred. However, certain wall assemblies and grab bars may allow manufacturer-approved heavy-duty anchoring systems when studs aren’t available in the desired location. Always follow the manufacturer’s requirements for the specific grab bar and mounting system.
Can you install grab bars on tile?
Yes. Grab bars can be installed on tiled walls, but the finished tile isn’t what ultimately makes the grab bar secure. Installation requires the appropriate drilling method and a suitable structural mounting or anchoring system. Using the wrong bit, fastener, or technique can crack tile or result in an unsafe installation.
Can you install a grab bar without opening the wall?
In many situations, yes. Existing studs may provide suitable mounting locations, while some compatible wall assemblies can accommodate approved anchoring systems without opening the entire wall. Whether that’s appropriate depends on the wall, grab bar, anchor, and manufacturer’s instructions.
What height should grab bars be installed?
There’s no single height that’s right for every residential user. Placement should account for the person’s height, reach, mobility, and the area where support is needed. For facilities subject to the ADA Standards, horizontal grab bars are generally installed with the top of the gripping surface 33 to 36 inches above the finished floor, with specific requirements and exceptions depending on the fixture. Private residential bathrooms aren’t automatically subject to these ADA requirements.
Can I use a towel bar as a grab bar?
No. Standard towel bars aren’t designed or installed to provide the structural support expected from a safety grab bar. If someone may rely on a fixture for balance, use a purpose-built grab bar with an appropriate mounting system.
Is professional grab bar installation worth it?
Professional installation can be especially worthwhile when you’re working with tile, uncertain framing, specialized anchors, shower surrounds, multiple grab bars, or significant mobility concerns. A professional can evaluate both placement and mounting conditions so the finished grab bars provide support where you actually need it.